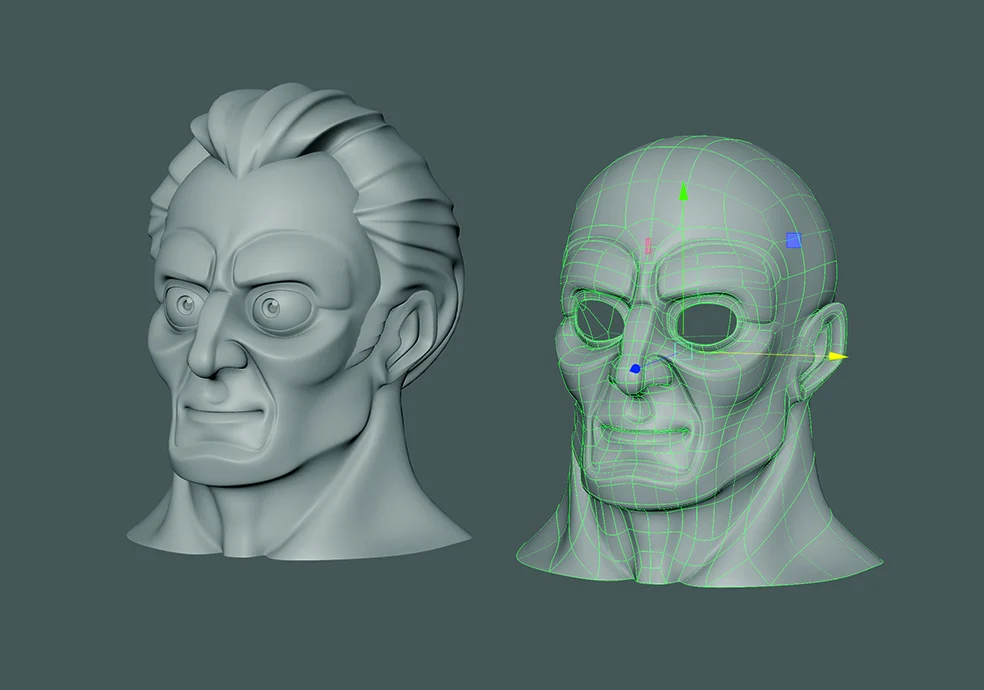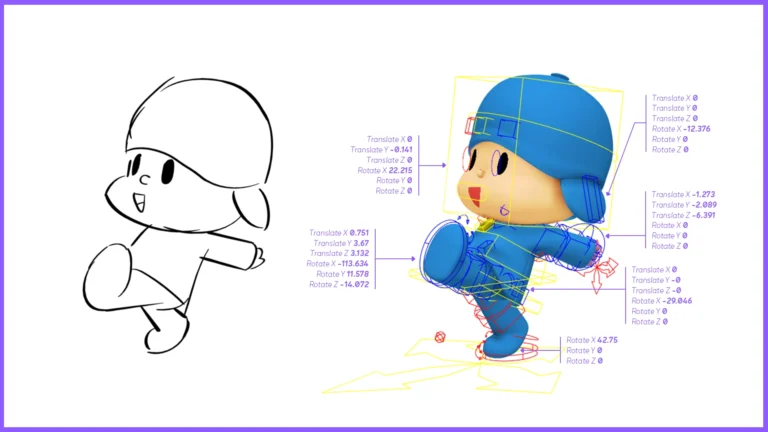
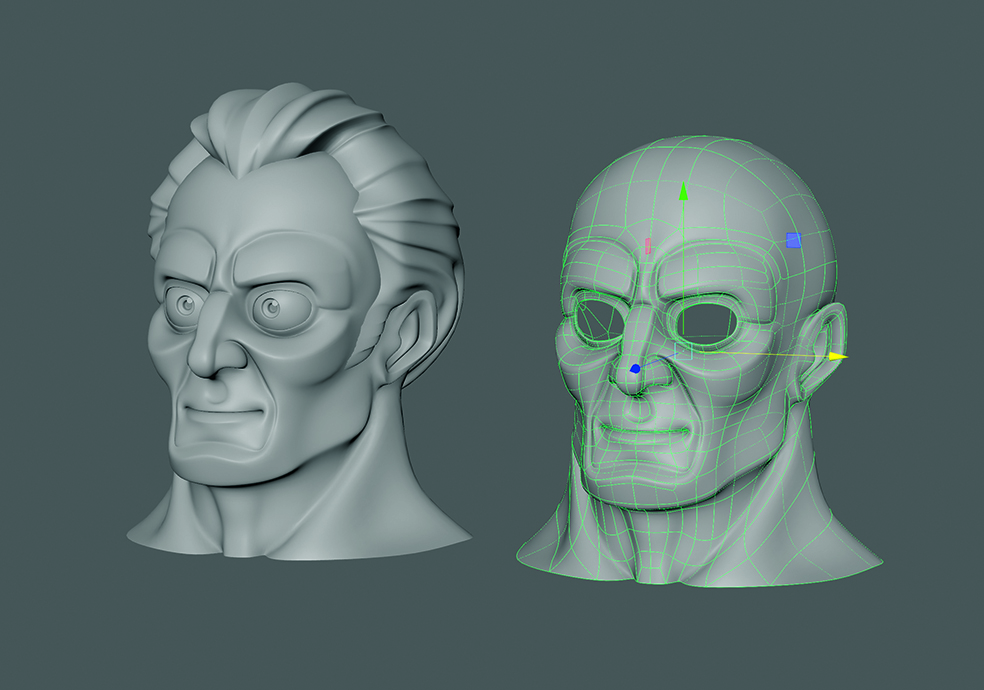
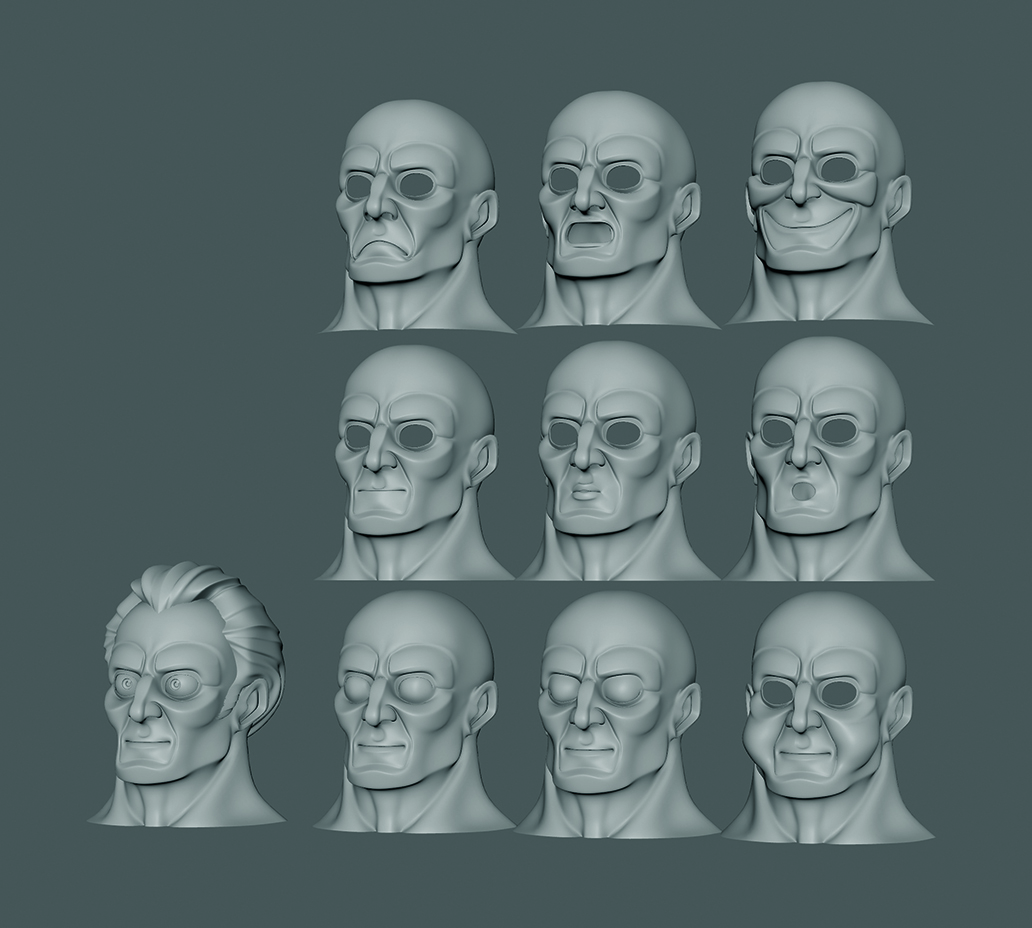
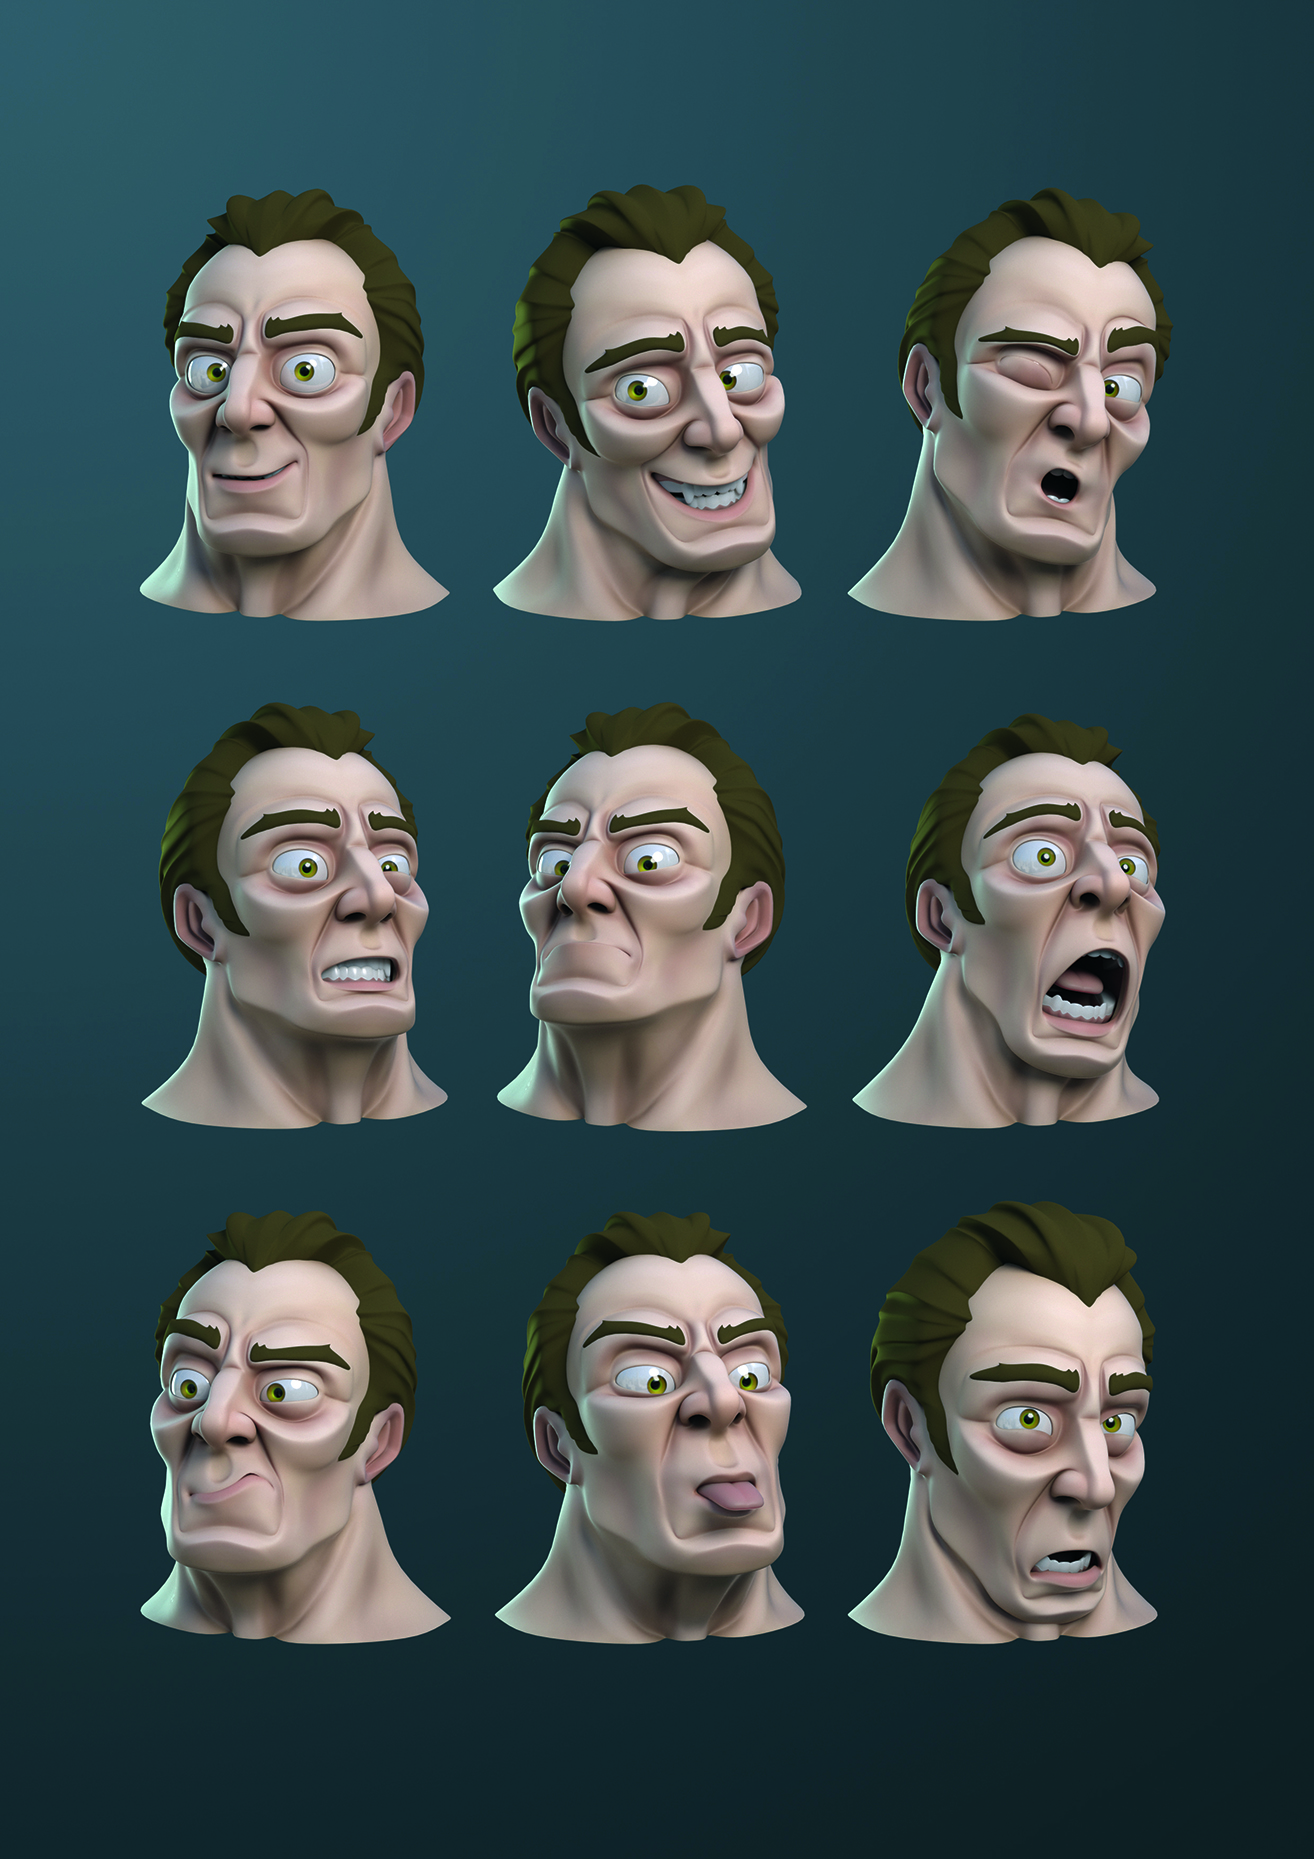
First up is blend shapes—a powerful tool in animation used to change a model’s shape over time. Depending on the software of choice, the terminology varies. Maya goes with “blend shapes,” Blender uses “shape keys,” and Unreal Engine 5 calls them “morph targets.”
Imagine a face in a neutral pose that needs to break into a smile. A blend shape is absolutely perfect for this. By adding a smile morph target and connecting it to the main model, the character can smoothly transition from a neutral expression to a grin and back again.
Here is how it works: each vertex on the main model is essentially animated to move from point A to point B, with point B being where that vertex sits on the smile morph target. The only catch? They travel in a straight line. That means blend shapes aren’t ideal for movements that need to follow an arc, like an eyelid rolling over an eyeball.
On the plus side, blend shapes are incredibly easy to set up and deliver organic, lively movements. Here is a look at the basic steps to get them running.
Three Steps to Creating Animation Blend Shapes 01. Create the morph targets The first step is duplicating the main model, once for each required face shape. These new models are the morph targets. It is best to move them apart to easily view and work on them individually.
02. Shape the models Next, work through the morph targets, adjusting them to form the various needed shapes. While individual vertex editing works, sculpting tools usually yield quicker, more organic results.
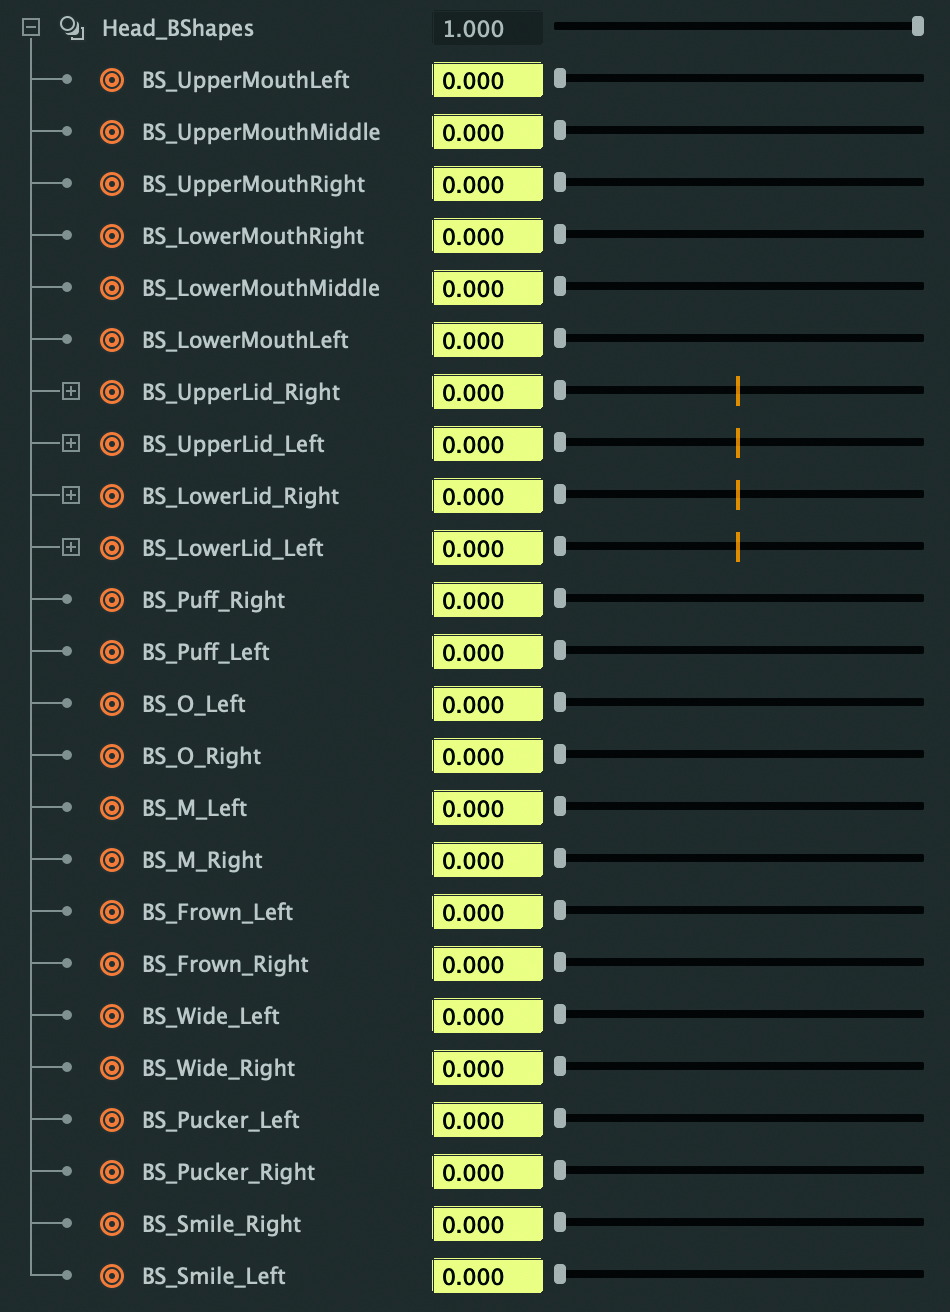
03. Connect using the blend shape tool Finally, use the software’s blend shape tool to connect the morph targets to the main model. The resulting blend shape node will feature a list of morph targets next to individual sliders. Simply animate these sliders to bring the character to life.
Sign up for the Creative Bloq daily newsletter to stay updated with the latest news and inspiration from the worlds of art, design, and technology.
Creative Bloq is also available as a handy mobile app, making it incredibly easy to keep up with favorite content through a highly optimized interface.
Khái niệm đầu tiên chính là blend shapes – một công cụ đắc lực trong animation giúp thay đổi hình dạng của mô hình theo thời gian. Tùy thuộc vào software được sử dụng mà tên gọi sẽ khác nhau. Maya gọi là blend shapes, Blender dùng cụm từ shape keys, còn Unreal Engine 5 thì gọi là morph targets.
Hãy tưởng tượng một khuôn mặt đang ở trạng thái bình thường bỗng nở nụ cười. Việc dùng blend shape lúc này là cực kỳ chuẩn bài, vì khi thêm một mục tiêu biến hình (morph target) hình nụ cười và kết nối nó với mô hình gốc, nhân vật có thể chuyển đổi mượt mà từ biểu cảm bình thường sang cười và ngược lại.
Về cơ bản, cơ chế hoạt động của nó là điều khiển từng điểm đỉnh (vertex) trên mô hình chính di chuyển từ điểm A sang điểm B – trong đó điểm B là vị trí của điểm đỉnh đó trên morph target nụ cười. Tuy nhiên, điểm hạn chế là các điểm này chỉ đi theo đường thẳng tắp. Vì thế, blend shapes sẽ không phù hợp với những chuyển động cần đi theo đường cong hay hình vòng cung, chẳng hạn như chuyển động của mí mắt lăn trên nhãn cầu.
Thế nhưng, điểm cộng cực lớn của blend shapes là cài đặt siêu dễ mà lại mang đến những chuyển động cho cảm giác rất tự nhiên và sinh động. Cùng xem các bước thiết lập cơ bản nhé.
Ba bước tạo blend shapes trong hoạt ảnh
01. Tạo các morph target
Bước đầu tiên là nhân bản mô hình chính ra thành nhiều bản, mỗi bản tương ứng với một hình dáng khuôn mặt cần thiết. Những mô hình mới này chính là các morph target. Tốt nhất là nên kéo chúng tách rời nhau ra để dễ dàng quan sát và thao tác riêng biệt.
02. Định hình các phom dáng
Tiếp theo, hãy bắt tay vào chỉnh sửa từng morph target để tạo ra các hình dáng mong muốn. Việc này có thể thực hiện bằng cách chỉnh từng điểm đỉnh một, nhưng sử dụng các công cụ điêu khắc (sculpting tools) thường sẽ cho kết quả nhanh và trông tự nhiên hơn rất nhiều.
03. Kết nối bằng công cụ blend shape
Cuối cùng, dùng công cụ blend shape của phần mềm để nối các morph target lại với mô hình chính. Khi đó, một bảng điều khiển blend shape sẽ xuất hiện kèm danh sách các morph target cùng các thanh trượt bên cạnh. Việc còn lại chỉ là kéo trượt các thanh này để thổi hồn và mang lại sức sống cho nhân vật.
Nguồn: creativebloq.com